[Torrey, Jeff]
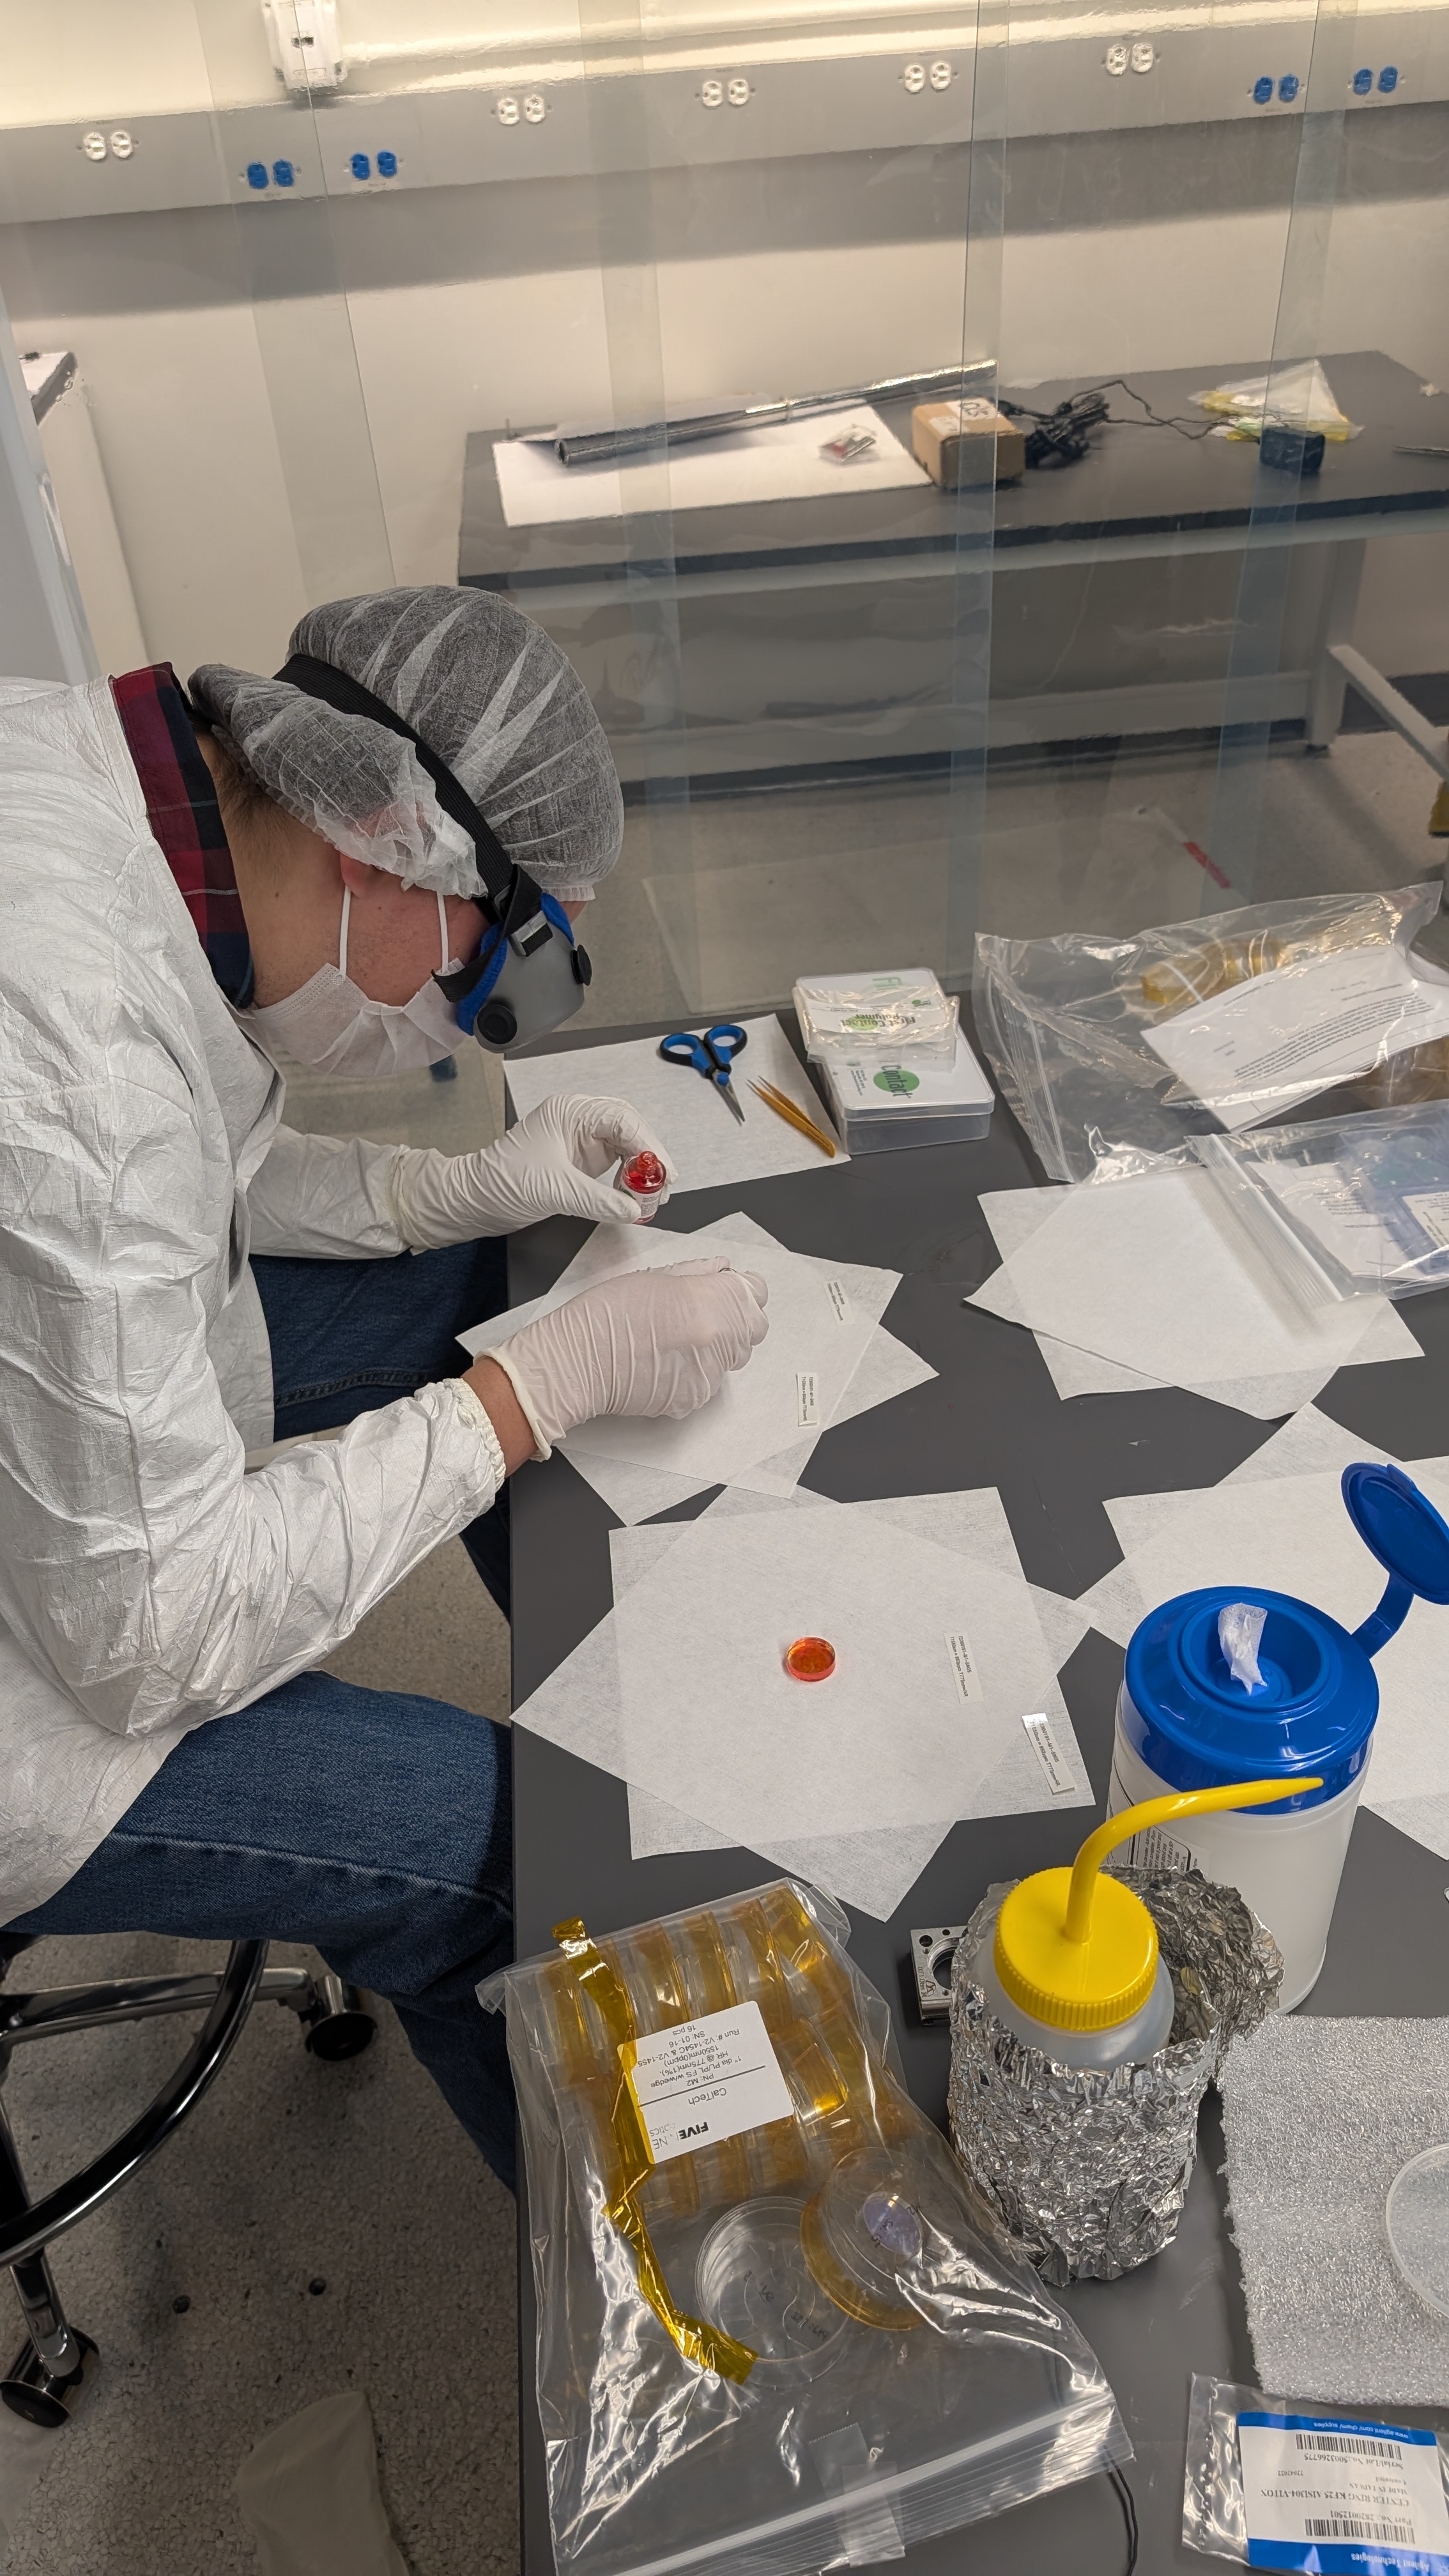
We performed a first contact cleaning procedure on the four optics planned for use in output filter cavity three. We struggled with the first contact solution creating strings, and two of the four optics had to be re-painted and will be peeled at a future date.
For each optic, the procedure was as follows:
1) Remove the optic from the package, and place it in a mount, HR side down. Create a label for this optic.
2) Paint the AR side of the optic with a first coat. Add a strip of plastic mesh to serve as a handle on removal, and paint another coat on top.
3) Wait for the first contact on the AR side to dry completely, then place it face down on a clean surface. We used a TEX wipe 1109. Based on the fact that later the first contact was stuck to the wipe, the 5 minutes or so that we waited was not long enough.
4) Repeat step 2 on the HR side.
5) Wait for the HR side to dry completely
6) Peel off the first contact, using the tweezers to lift the mesh handle to start. Be mindful of strings! They are likely to lurk around the edges of the optic as you pull away, and they will make you very sad if they land on the optic. We used the tweezers to remove strings if they were close to the edge of the optic, but when the optic had strings on the middle we re-painted that face.
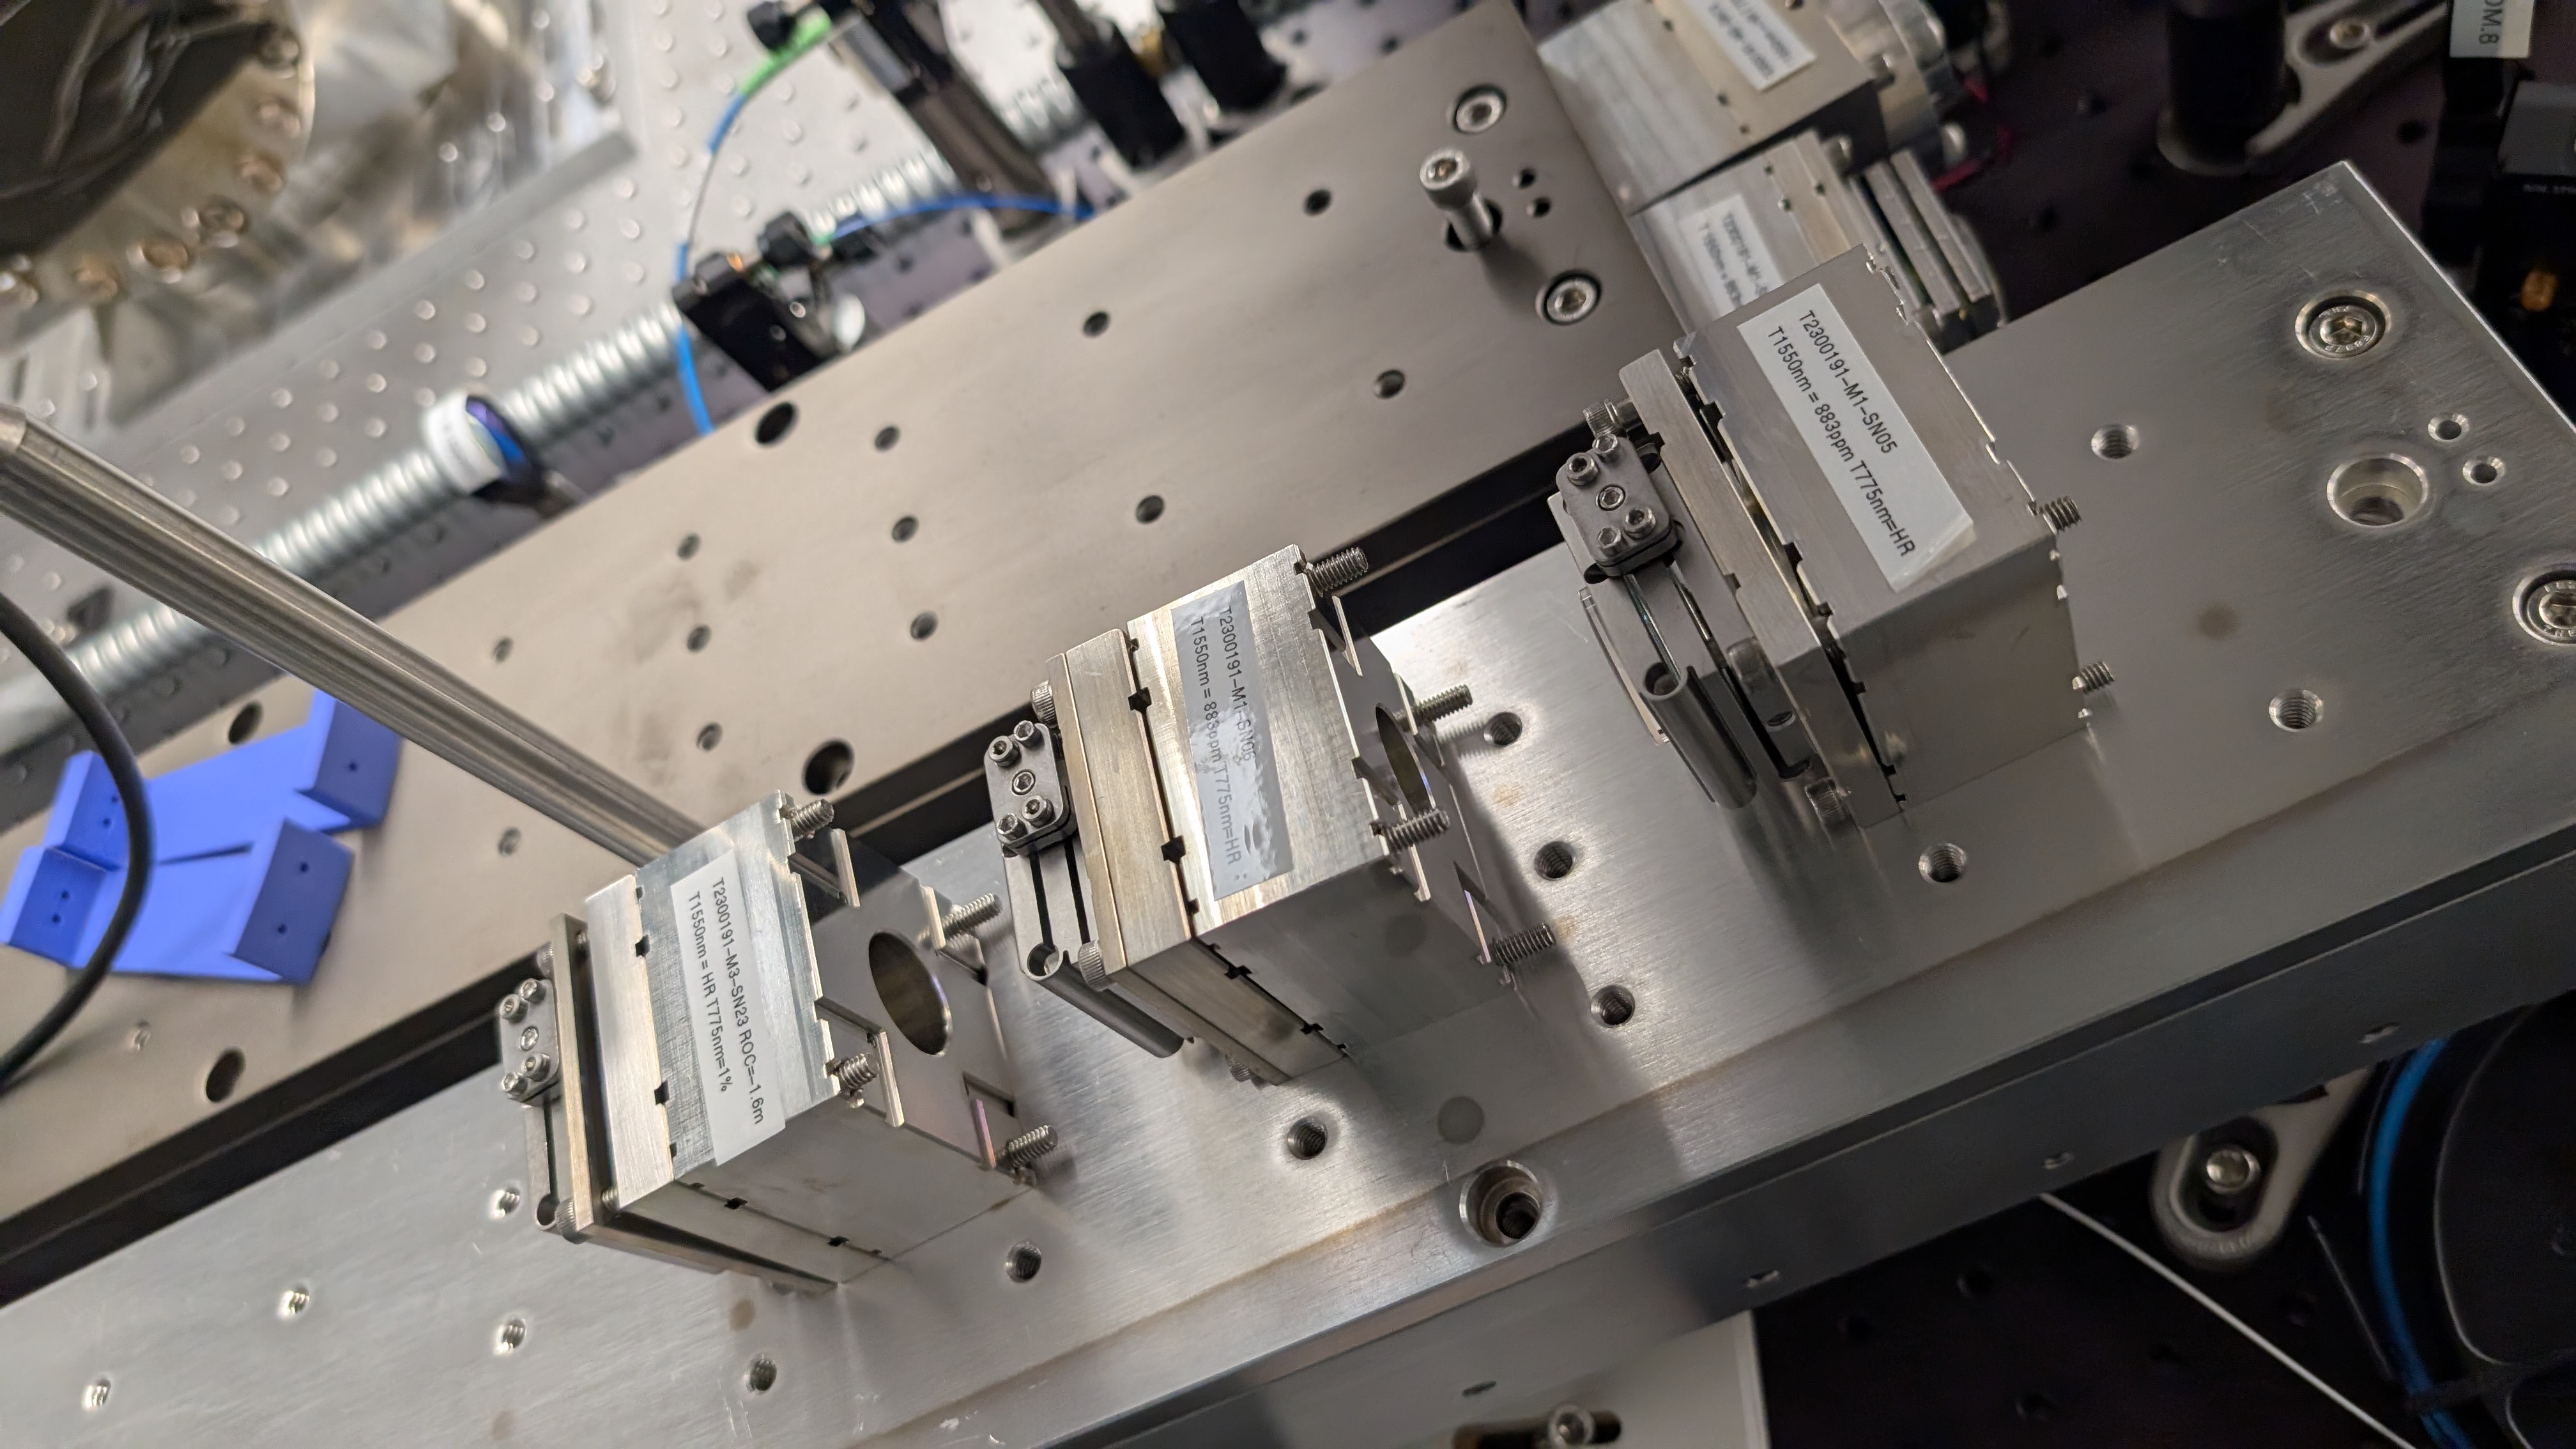
7) Place clean optics into their mounts and label the mount.
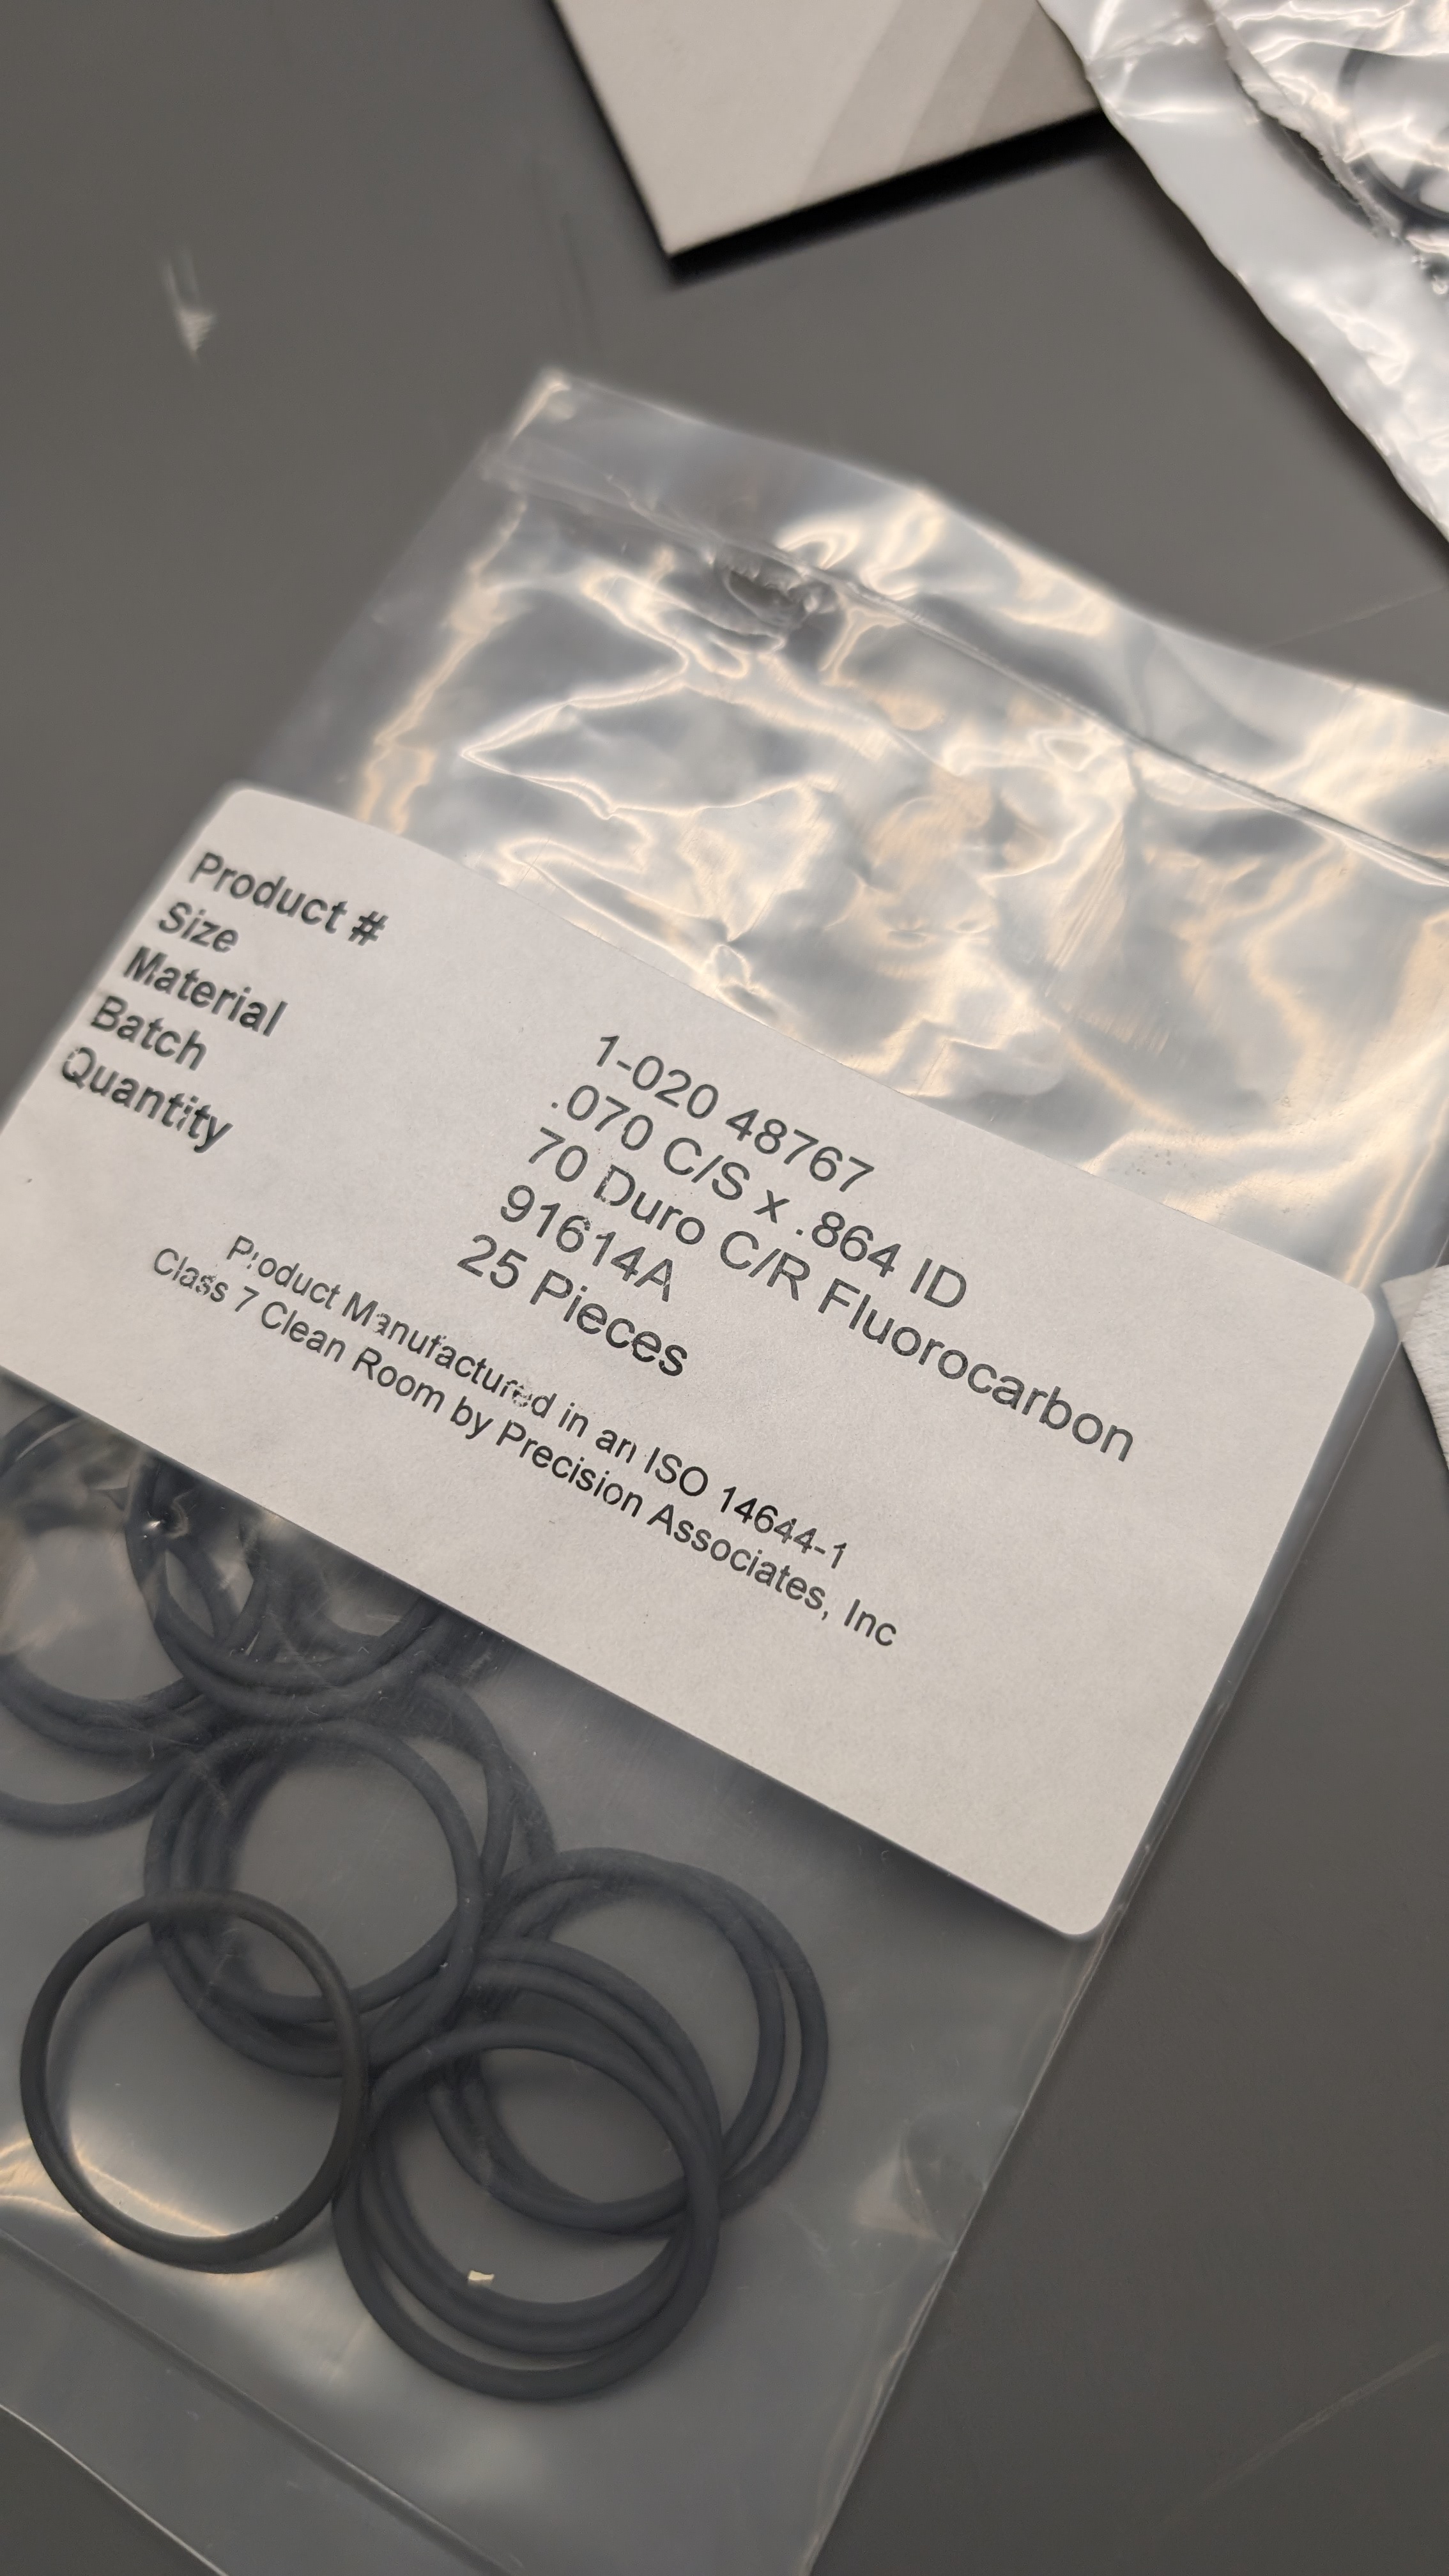
I peeled the first contact that was left on over the weekend. The mirrors seem sufficiently cleaned. The first three mirrors are in their mounts and on the table. Note that we are trying the syskew mounts instead of the newport flexture mounts this time. I am having trouble assembling the last mirror that is compressed against the piezo . We need the nylon tipped screws that hold the piezo in place while assembling. This piezo (nac2125 from CTS) has been soldered to a BNC connection for later use. I think we also had bought a custom spacer as this piezo is not as tall as the noliacs that were in the original design. I can't quite finish assembling this until we get some stuff. In the mean time, it has a SM1 ring and a viton spacer ring in place.
All of these new superoptics have been labelled and their position recorded on the wiki.